

Are you ready to create the magazine ready yard that will be the envy of your neighbours? After you have cut the lawn, planted your new plants and setup your new fancy fountain there is one final step that will complete the whole look. That is trimming the edges around your flower beds, walkways and driveway to make for the perfectly tidy yard that you and your family can enjoy. While we are still having some slightly chilly days as Spring is approaching, the warmer weather has most of us putting on our game faces getting ready to tackle the yard and landscaping to make the perfect summer oasis to enjoy with family and friends.
It’s important to make sure your primary lawn cutting and maintenance equipment is running in peak condition when you pull them out of storage. We can help get your small engine equipment repaired or do small engine tune ups for you to get everything running properly. But the one final piece you will need is to have your yard trimmer working in perfect order with new strings ready to clean and trim all of those finer edges for the showroom yard.
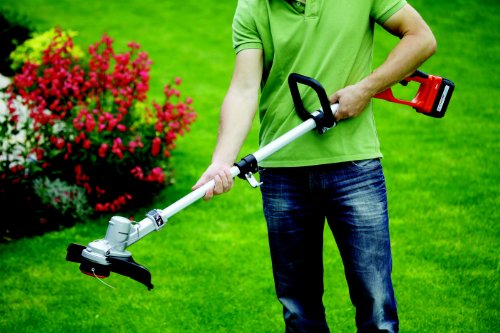
If you have used a string trimmer frequently to clean your yard then you know that eventually you have to replace the trimmer line if it runs out or becomes damaged. The good news is that it is pretty easy to do and after reading these tips you’ll be able to change it like a pro.
Before you being it is a good idea to consult the manual for safety instructions and tips and make sure to do this outside while wearing appropriate apparel to avoid injury or getting your favourite shirt dirty.
The first step is to purchase your trimmer line string and you should check your manual to see the size of string required for your particular unit because if you install the wrong length of trimmer line then you can damage your yard trimmer.
The second step is to make sure that your yard trimmer is off and that the engine is cool as you want to avoid an injury such as a burn or worse. The next step is to cut the trimmer line to the appropriate length depending on your spool size which is often 15 – 25 feet. Remove your spool cap cover from your yard trimmer (usually unscrews or pops off by pushing in the tabs).
Now that the spool cap is removed, insert the trimmer line into the starter hole and begin winding in the direction your trimmer indicates (usually clockwise). To prevent tangles of the trimmer line during operation it is best to wind the trimmer line side to side before you start overlapping the line.
Once you are finished winding, take the last 5-6 inches and feed it through the exit hole. This will become the initial trimming line that actually trims the grass or weeds when in use.
Lastly, reattach the spool cap and be sure to check the guard as this will protect you from any debris that may be flying around during operation of your yard trimmer.
See, that’s pretty straightforward and you will be able to get back to finishing up that beautiful yard in no time (once summer arrives again). Keep in mind that your small engines such as your yard trimmer need regular seasonal maintenance and tuneups, and occasionally even small engine repair. Now is the perfect time to start booking your appointments for small engine service so that you will have all of your equipment running in peak condition when the season starts.